Forensic Analytics |
[This is preliminary documentation and is subject to change.]
This topic contains the following sections:
The purpose of this tutorial is to help you understand how to build an analytic application with eety, using techniques for forensic accounting investigations. In this case, the data to be analyzed are extracted from an Ms Access database and a first digit analysis is run on the paid amount.
Create an application solution:
| 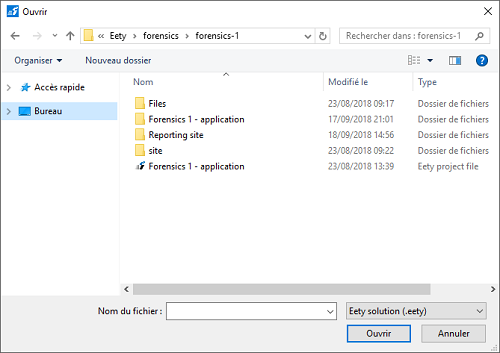 |
Add Microsoft Access connection
Access 2007 database with the Invoices Paid table can be exported from Mark J. Nigrini site.
Eety provides an Access connector to extract the table
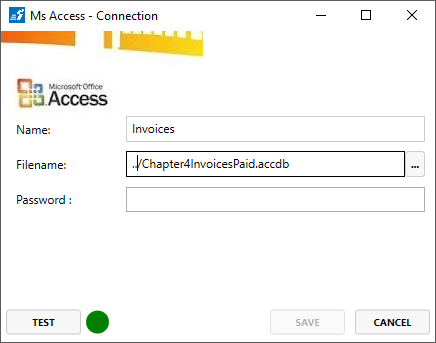
To create an Access connection:
Right click on Connection, in Solution Explorer.
Expand the new connection menu.
Select the Ms Access connector.
Fill the dialog box with the relevant values.
 Note
NoteA relative file path also works.
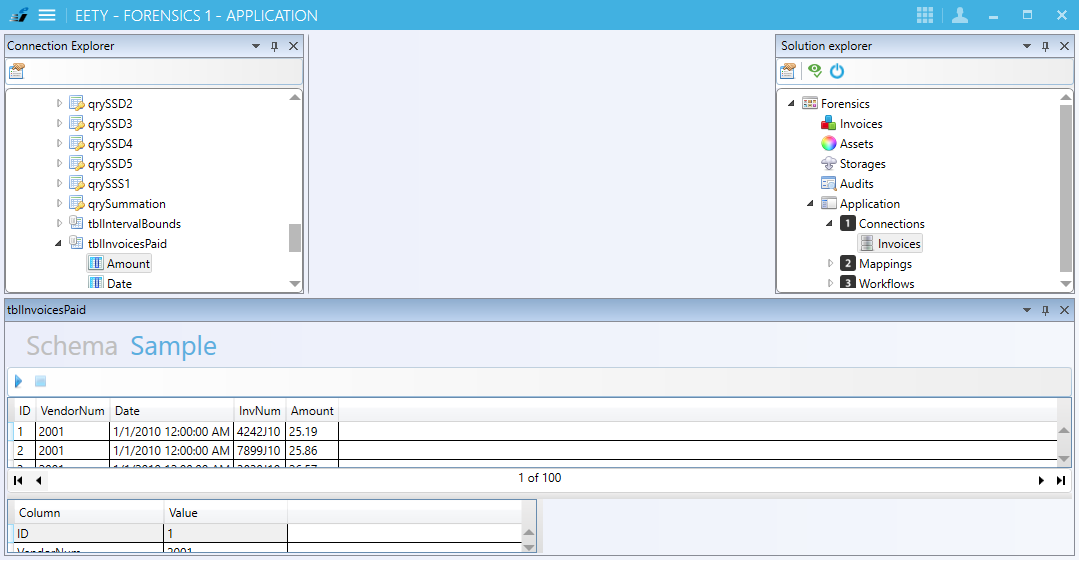
Check connections and data
Double click on Invoices in Solution Explorer.
Expand the tree nodes in Connection Explorer on the left side.
Double click on tblInvoicesPaid.
Check the rows in the bottom Sample tab.Fill the dialog box with the relevant values.
Basic concepts
One single model shares its elements with all the components in the application. This is a logical business model with tables, columns and relationships mapped to the data sources corresponding elements. At runtime, data extracted from the data sources is stored into these elements, starting an integration or analysis pipeline.
In this example, we will:
Create a new extraction mapping.
Create and map a new class with the Access tblInvoicesPaid table.
Rename the tblInvoicesPaid class.
To create the extraction mapping
Right click on the Mappings node, in the Solution Explorer pane.
Add a new Extraction type mapping.
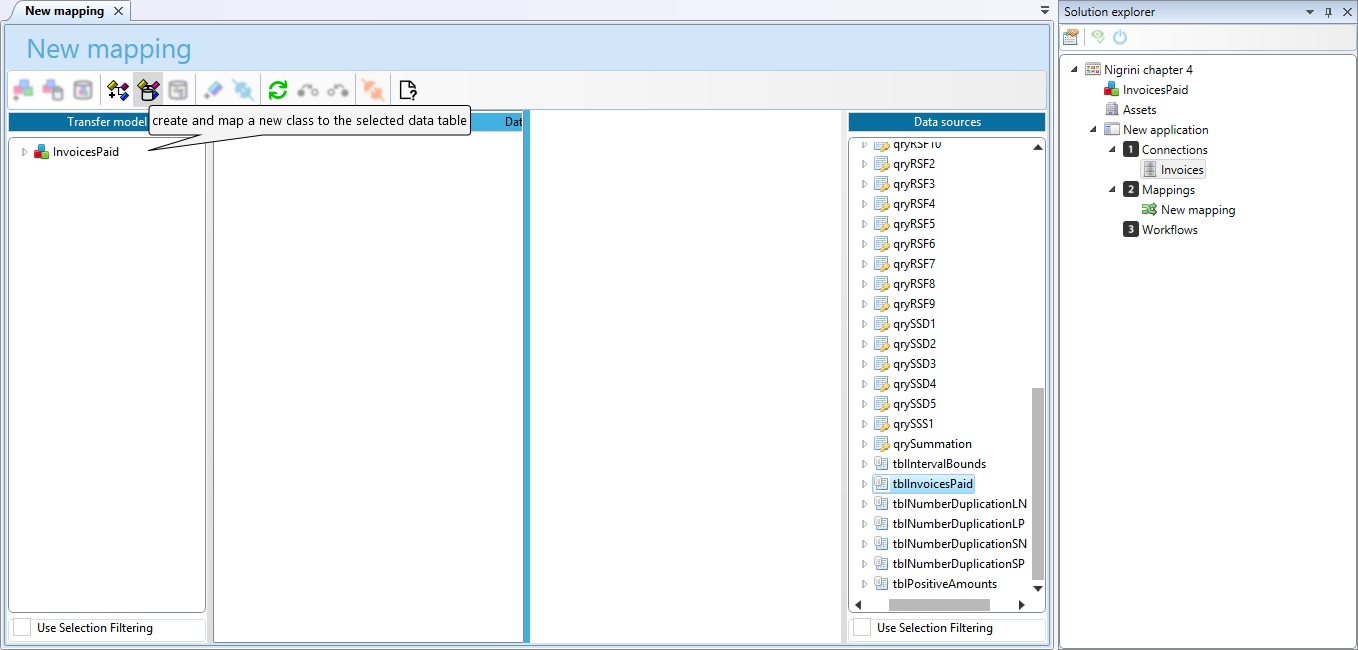
To create and map a new table
Optionally, double click the New mapping node in Solution Explorer pane.
Expand the Invoices node in the Data Sources pane.
Click the tblInvoicesPaid table below main.
Click
 in the toolbar to create and map a new table.
To rename the tblInvoicesPaid table
Double click the New Model node in top of Solution Explorer.
Expand InvoicesPaid node in Model Explorer.
Select tblInvoicesPaid, press F2 and rename it Invoice.
Rename the New Model node Invoices.
To add an analysis workflow:
|  |
Basic concepts
We want to release all the analysis reports as html views and browse them into a dedicated web site.
To create a web application
Expand the Analysis node in Solution Explorer pane.
Double Click Report.
Click Invoices in the model tree on the left pane.
Click Add new button on the right of the toolbar.
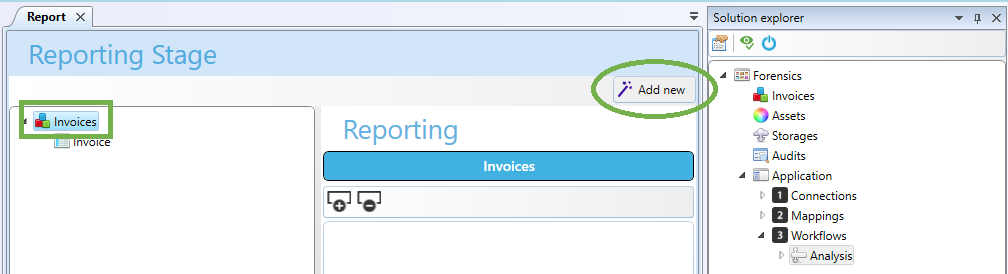
Select Web Application on the left of the Reporting dialog box.
Click the site templates button on the bottom of the box.
Select the jquery+bootstrap+highcharts.etpl template file in the dialog box.
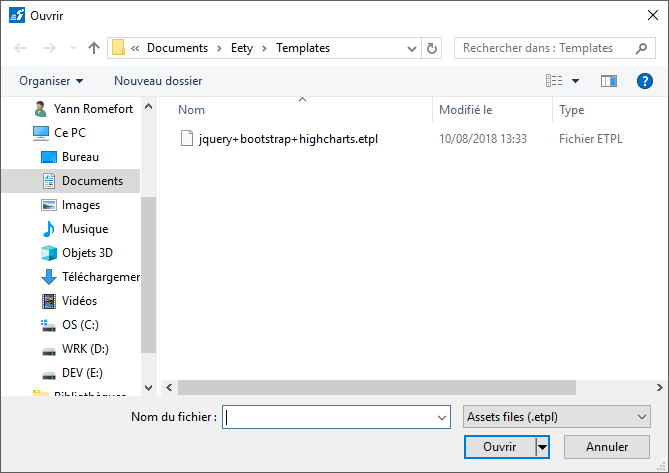
Click Open.
Fill the dialog box with the relevant values:
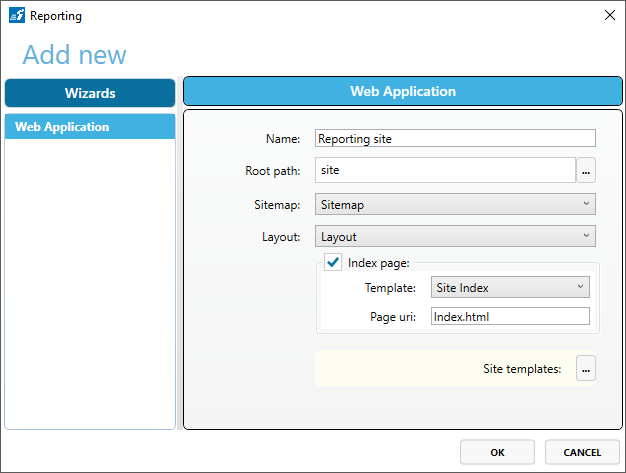
Click OK.
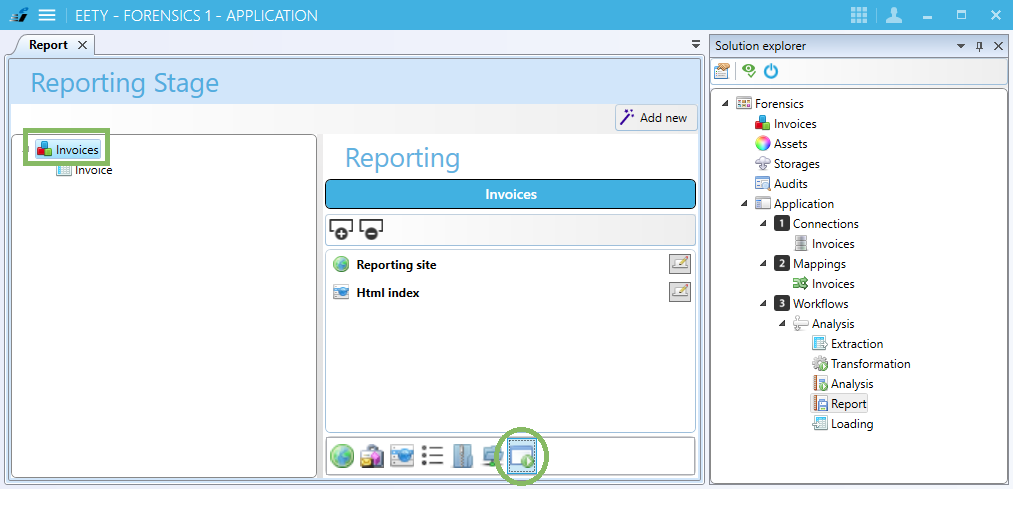
Check the added items:

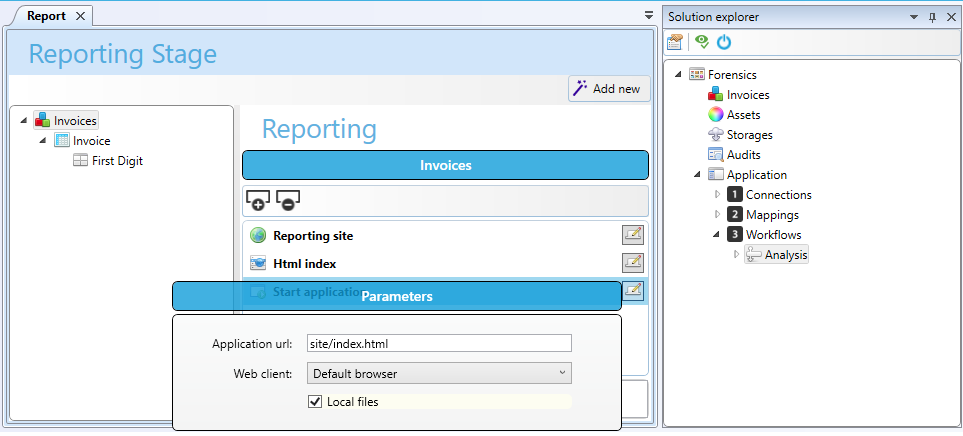
To add an auto start
Click Invoices in the model tree on the left pane of the Reporting stage page.
Double click the
 button in the bottom toolbar of the center pane.
Click the
 button on the right of Start Application in the listbox.
Input parameters as shown below:
To test the application
Click
 in Solution Explorer toolbar.
Click
 in Test New Application.
A default browser instance should be started.